原文:https://www.hi-linux.com/posts/3282.html
Posted by Mike on 2017-06-14
在「 利用ModSecurity在Nginx上构建WAF 」一文中,我们讲了如何以ModSecurity模块来部署一个WAF为其后端的Web应用提供安全防护。本文主要讲一下如何用另一个Nginx WAF模块Naxsi来构建一个可用的WAF。
什么是Naxsi
Naxsi是一个开放源代码、高效、低维护规则的Nginx Web应用防火墙模块,Naxsi的主要目标是帮助人们加固Web应用程序,以抵御SQL注入、跨站脚本、跨域伪造请求、本地和远程文件等包含的漏洞。
Naxsi与其它WAF的区别是,它不靠后签名来检测和阻止攻击。它使用一个简单的模型,而不是试图发现已知的攻击,它在HTTP请求/参数检测意外的字符。
1
2
3
$ cd /root
$ wget 'http://nginx.org/download/nginx-1.9.2.tar.gz'
$ wget -O naxsi-0.55.3.tar.gz https://github.com/nbs-system/naxsi/archive/0.55.3.tar.gz
Centos/RHEL
1 $ yum install pcre pcre-devel libxml2 libxml2-devel zlib zlib-devel openssl openssl-devel
Ubuntu/Debian
1 $ apt-get install libreadline-dev libncurses5-dev libpcre3-dev libssl-dev perl make build-essential
1
2
3
4
5
$ tar xzvf naxsi-0.55.3.tar.gz
$ tar xzvf nginx-1.9.2.tar.gz
$ cd nginx-1.9.2
$ ./configure --add-module=/root/naxsi-0.55.3/naxsi_src/
$ make && make install
首先需要将Naxsi核心规则文件naxsi_core.rules引入到Nginx主配置文件中。
复制核心规则到Nginx安装目录。
1 $ cp /root/naxsi-0.55.3/naxsi_config/naxsi_core.rules /usr/local/nginx/conf/
修改Nginx主配置文件,在http区块中插入以下内容:
1
2
3
4
5
6
7
$ vim /usr/local/nginx/conf/nginx.conf
http {
...
include /usr/local/nginx/conf/naxsi_core.rules;
...
}
子规则是配置在Nginx配置文件的Server区块中的,子规则更多是起到配置过滤等级还有白名单的作用。这里我们先新建一个公用的子规则,方便需要用的站点都可以引用进去。
1
2
3
4
5
6
7
8
9
10
11
12
13
14
$ vim /usr/local/nginx/conf/naxsi.rules
# 启用Naxsi模块
SecRulesEnabled;
# 拒绝访问时展示的页面
DeniedUrl "/RequestDenied";
# 检查规则
CheckRule "$SQL >= 8" BLOCK;
CheckRule "$RFI >= 8" BLOCK;
CheckRule "$TRAVERSAL >= 4" BLOCK;
CheckRule "$EVADE >= 4" BLOCK;
CheckRule "$XSS >= 8" BLOCK;
以上配置的作用是启用Naxsi模块并拦截指定的非法请求。如果要关闭Naxsi模块,可使用SecRulesDisabled选项。
DeniedUrl是把拒绝的请求发送到内部URL,CheckRule是设置各规则不同的触发阈值。 一旦该阈值触发,请求将被阻塞。
如果对规则产生的影响不太清楚,可以先设置为学习模式。Naxsi在学习模式下不会拒绝被拦截的请求,被拦截的请求会被写入Nginx中error_log选项定义的文件中。
1
2
# 启用学习模式,即拦截请求后不拒绝访问,只将触发规则的请求写入日志。
LearningMode;
建议大家在安装时先使用学习模式,规则测试完成后再启用拦截模式。这样可以避免出现对网站、服务器某些不可知的影响。注意在生产环境一定要把学习模式关闭,不然不能起到拦截非法请求的防御的效果。
接下来,我们在Server区块中引入上面定义的Naxsi子规则。
1
2
3
4
5
6
7
8
9
10
11
12
13
14
15
16
17
18
19
20
21
$ vim /usr/local/nginx/conf/nginx.conf
server {
listen 80;
server_name localhost mike.hi-linux.com;
access_log /var/log/nginx/access.log;
error_log /var/log/nginx/error.log debug;
location / {
# 引用Naxsi子规则
include /usr/local/nginx/conf/naxsi.rules;
root html;
index index.html index.htm;
}
# 配置拦截后拒绝访问时展示的页面,这里直接返回403。
location /RequestDenied {
return 403;
}
}
1
2
3
$ /usr/local/nginx/sbin/nginx -t
nginx: the configuration file /usr/local/nginx/conf/nginx.conf syntax is ok
nginx: configuration file /usr/local/nginx/conf/nginx.conf test is successful
1 $ /usr/local/nginx/sbin/nginx -c /usr/local/nginx/conf/nginx.conf
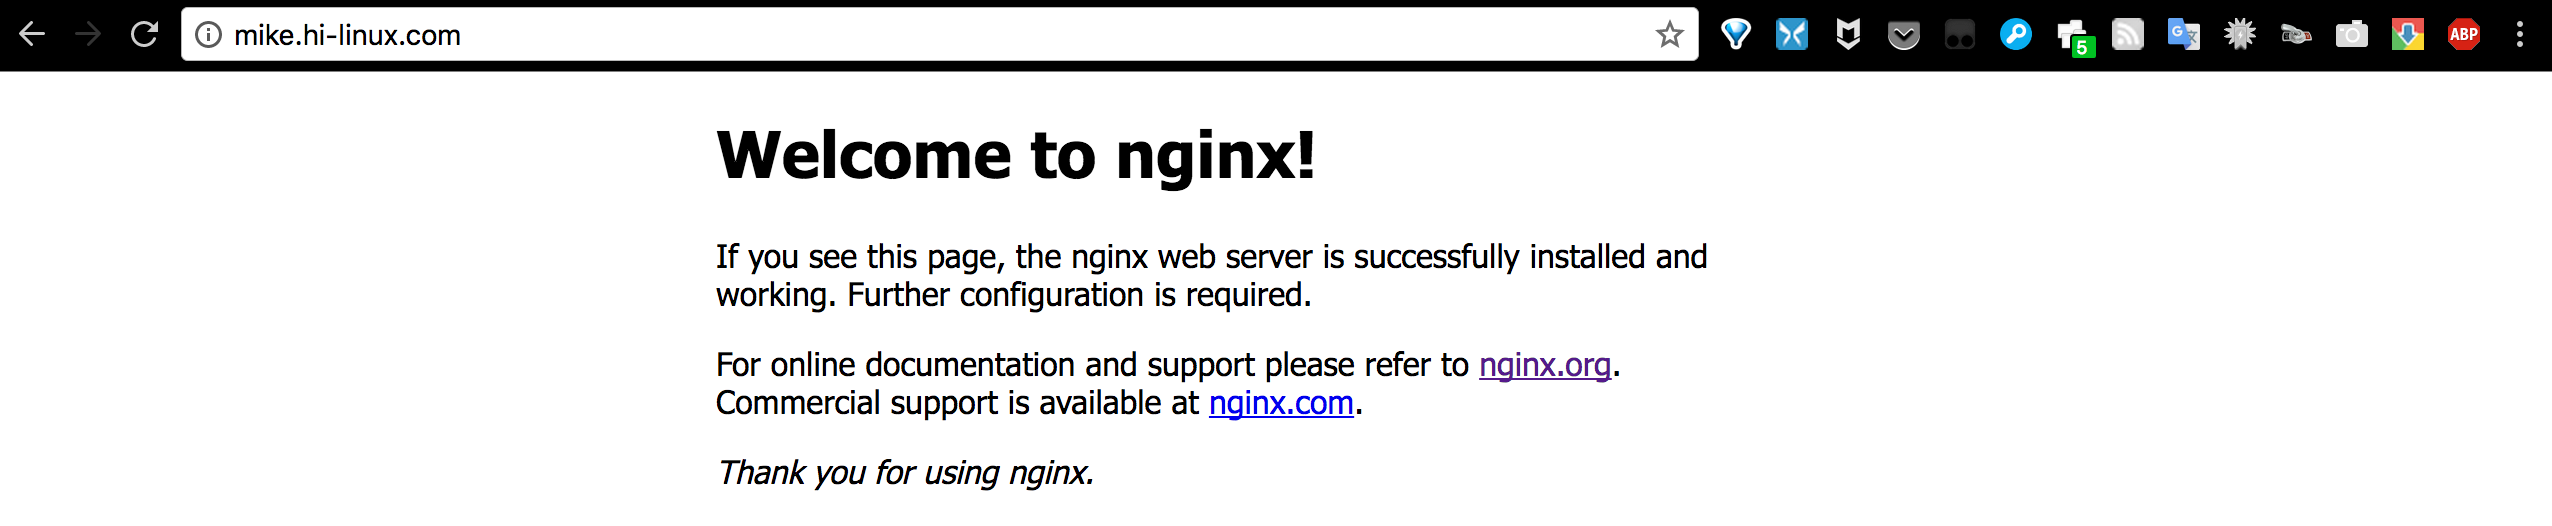
在浏览器中访问默认首页,会看到Nginx默认的欢迎页:
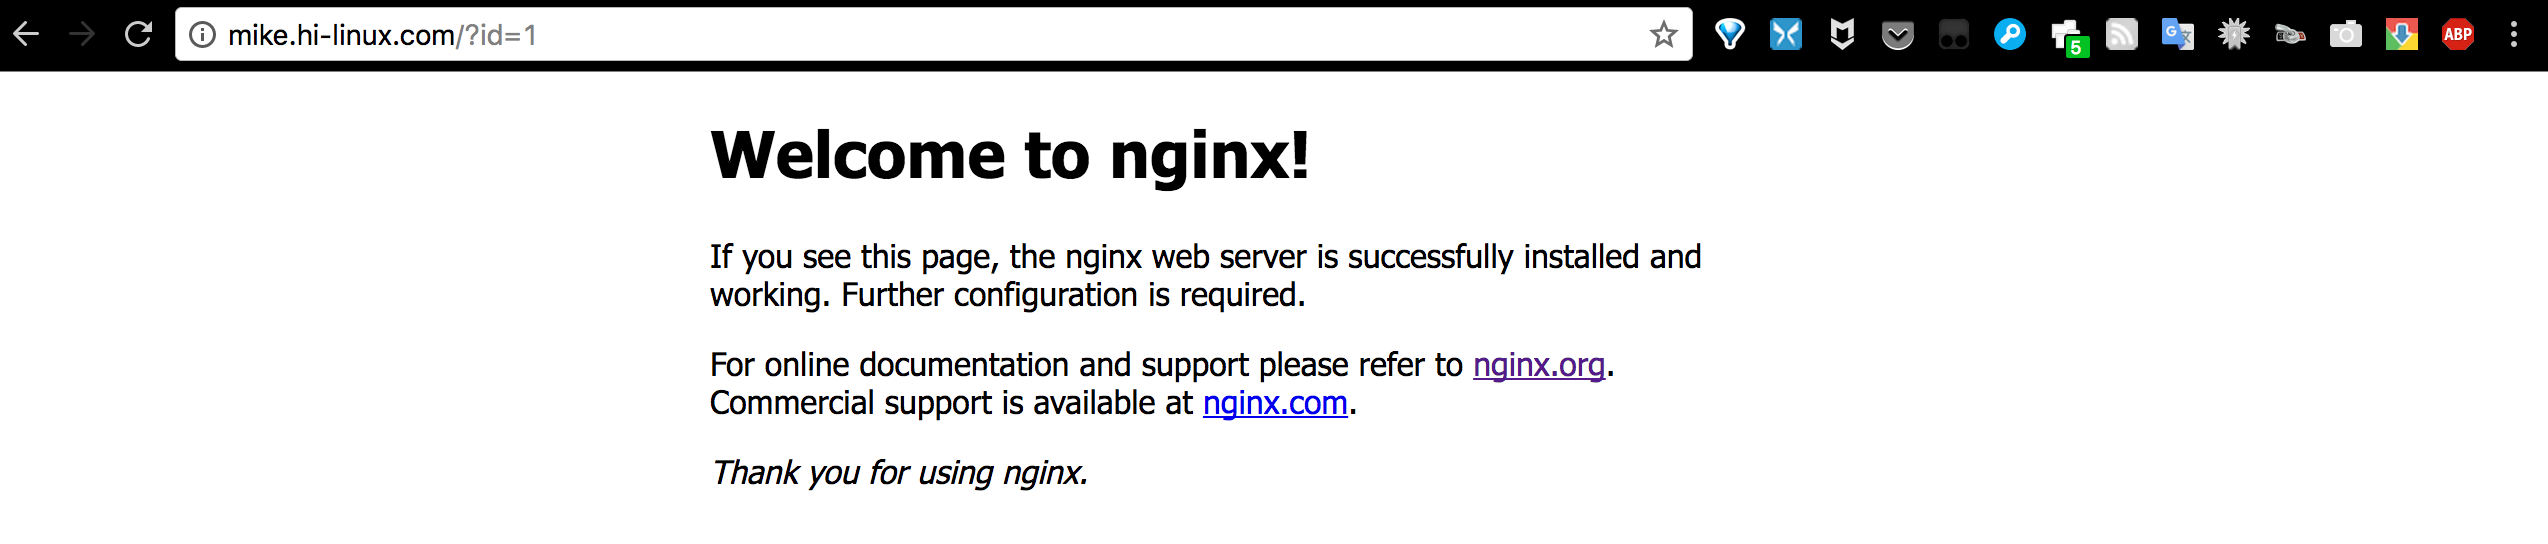
这时我们在网址后面自己加上正常参数,例如:http://mike.hi-linux.com/?id=1。同样会看到Nginx默认的欢迎页:
接下来,我们在前面正常参数的基础上再加上AND 1=1,整个请求变成:http://mike.hi-linux.com/?id=1 AND 1=1
就会看到Nginx返回403 Forbidden的信息了,说明Naxsi成功拦截了此请求。再来看一个XSS的例子,同样会被Naxsi拦截。
查看Naxsi日志
社区提供了一些针对常见应用的白名单规则。不过目前还比较少,只有Wordpress、Drupal、Dokuwiki等几个应用。
以Wordpress为例,来看看白名单使用:
先将wordpress.rules或wordpress-minimal文件复制到Nginx配置目录中。
1
2
3
$ git clone https://github.com/nbs-system/naxsi-rules.git
$ cp naxsi-rules/wordpress.rules /usr/local/nginx/conf/
$ cp naxsi-rules/wordpress-minimal /usr/local/nginx/conf/
其次在对应的location中引入对应白名单规则即可。
1
2
3
4
5
6
7
8
9
$ vim /usr/local/nginx/conf/nginx.conf
location /wordpress {
# 引用Wordpress白名单规则
include /usr/local/nginx/conf/wordpress.rules;
root html/wordpress;
index index.html index.htm index.php;
}
如果没有找到适合的白名单,就只能自己去配置白名单了。下面讲讲白名单的基础规则的语法。
基础规则(BasicRule)是用来创建白名单的记录。它的语法是
1 BasicRule wl:ID [negative] [mz:[$URL:target_url]|[match_zone]|[$ARGS_VAR:varname]|[$BODY_VARS:varname]|[$HEADERS_VAR:varname]|[NAME]]
哪些拦截规则会进入白名单。正确的语法是:
wl:0:把所有拦截规则加入白名单
wl:42:把ID为42的拦截规则加入白名单
wl:42,41,43:把ID为42, 41和43的拦截规则加入白名单
wl:-42:把所有拦截规则加入白名单,除了ID为42的拦截规则
指定的区域会生效本条白名单。
ARGS: GET的整个参数,如: foo=bar&in=%20
$ARGS_VAR: GET参数的参数名, 如:foo=bar&in=%20中的foo和in
$ARGS_VAR_X: 正则匹配的GET参数的参数名
HEADERS: 整个HTTP协议头
$HEADERS_VAR: HTTP协议头的名字
$HEADERS_VAR_X: 正则匹配的HTTP协议头的名字
BODY: POST的整个参数内容
$BODY_VAR: POST参数的参数名
$BODY_VAR_X: 正则匹配的POST参数的参数名
URL: URL(?前的)
$URL_X: 正则匹配的URL(?前的)
FILE_EXT: 文件名 (POST上传文件时上传的文件名)
以规则#1000为例:规则#1000是过滤包含select、update、delete、insert等SQL关键字的规则。
在本子规则中完全禁用拦截规则#1000。因为没有指定区域,所以全部加入白名单。
在全部GET参数名为foo的值中禁用拦截规则#1000
1 BasicRule wl:1000 "mz:$ARGS_VAR:foo";
类似http://mike.hi-linux.com/?foo=select * from demo这样的请示就不会被过滤。
在URL为/bar的GET请求中参数名为foo的值中禁用拦截规则#1000
1 BasicRule wl:1000 "mz:$ARGS_VAR:foo|$URL:/bar";
类似http://mike.hi-linux.com/bar?foo=select * from demo不会被过滤。
在URL为/bar的GET请求中的参数禁用拦截规则#1000
1 BasicRule wl:1000 "mz:$URL:/bar|ARGS";
以下类似请求,均不会过滤:
1
2
http://mike.hi-linux.com/bar?my=select * from demo
http://mike.hi-linux.com/bar?from=weibo
在全部GET请求中对所有参数名(只是名,不包含参数值)中禁用拦截规则#1000
1 BasicRule wl:1000 "mz:ARGS|NAME";
以下请求不会过滤:
1 http://mike.hi-linux.com/bar?from=weibo
以下请求会过滤:
1 http://mike.hi-linux.com/bar?foo=select
因为select属于参数值,不在白名单范围内。
在全部请求中对符合^/upload/(.*)\.(.*)$正则规则的URL禁用全部拦截规则
1 BasicRule wl:0 "mz:$URL_X:^/upload/(.*)\.(.*)$|URL";
类似http://mike.hi-linux.com/upload/select.db请求不会被过滤(原本会触发#1000拦截规则)。


评论
发表评论